The Agent Settings section in HelpEcho allows you to manage the support team members who will handle customer tickets inside the app.
Accessing Agent Settings
To manage agents:
- From your Shopify Admin, go to HelpEcho > Settings > Agent.
- You’ll see a list of existing agents with their name, email, and designation (if assigned).
- Each agent entry has options to edit or delete the profile.
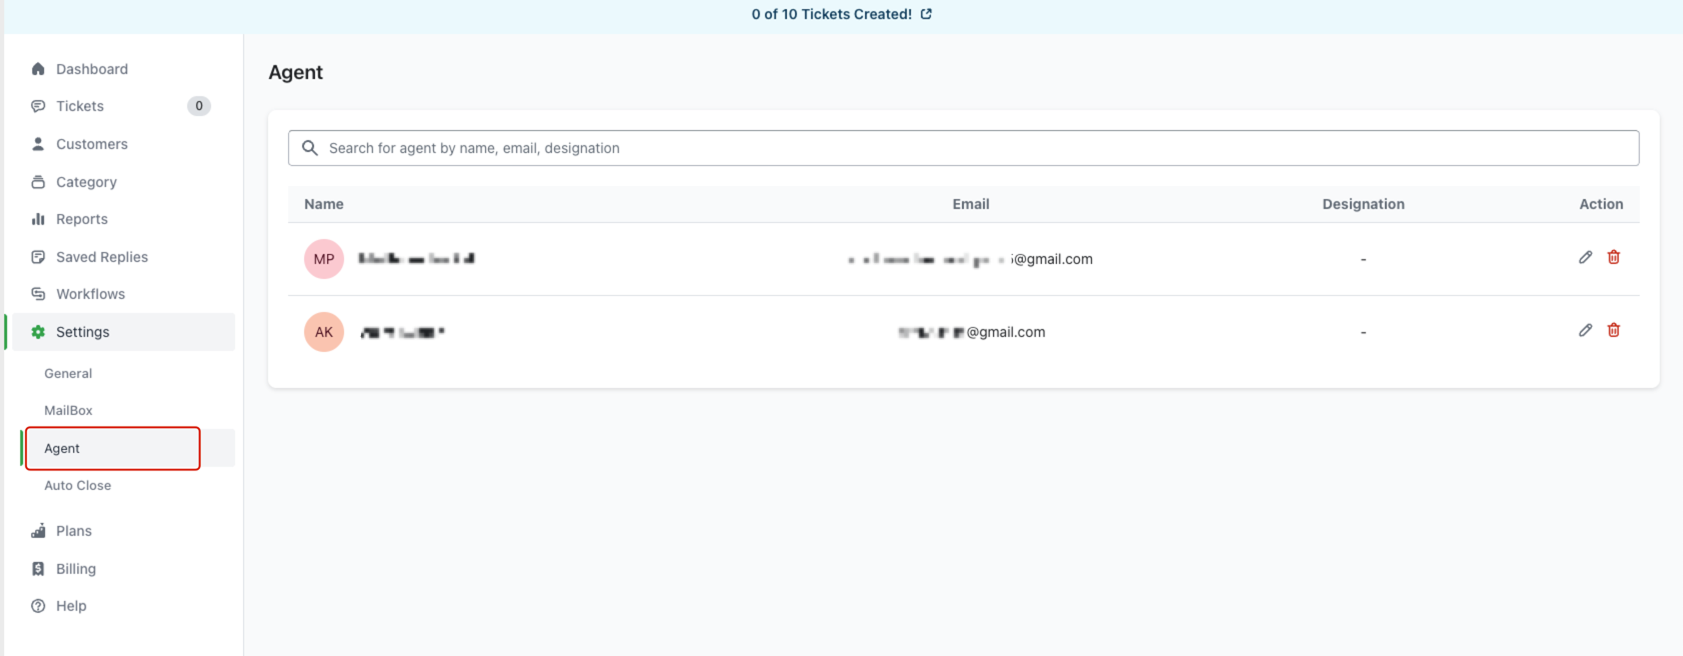
You’ll see a list of existing agents with their name, email, and designation (if assigned). Each agent entry has options to edit or delete the profile.
How to Add an Agent
To add agents to HelpEcho, you must first create them as staff members in your Shopify Admin. Follow these steps:

Step 1: Go to Users and Permissions
From your Shopify admin, navigate to:
Settings > Users and Permissions
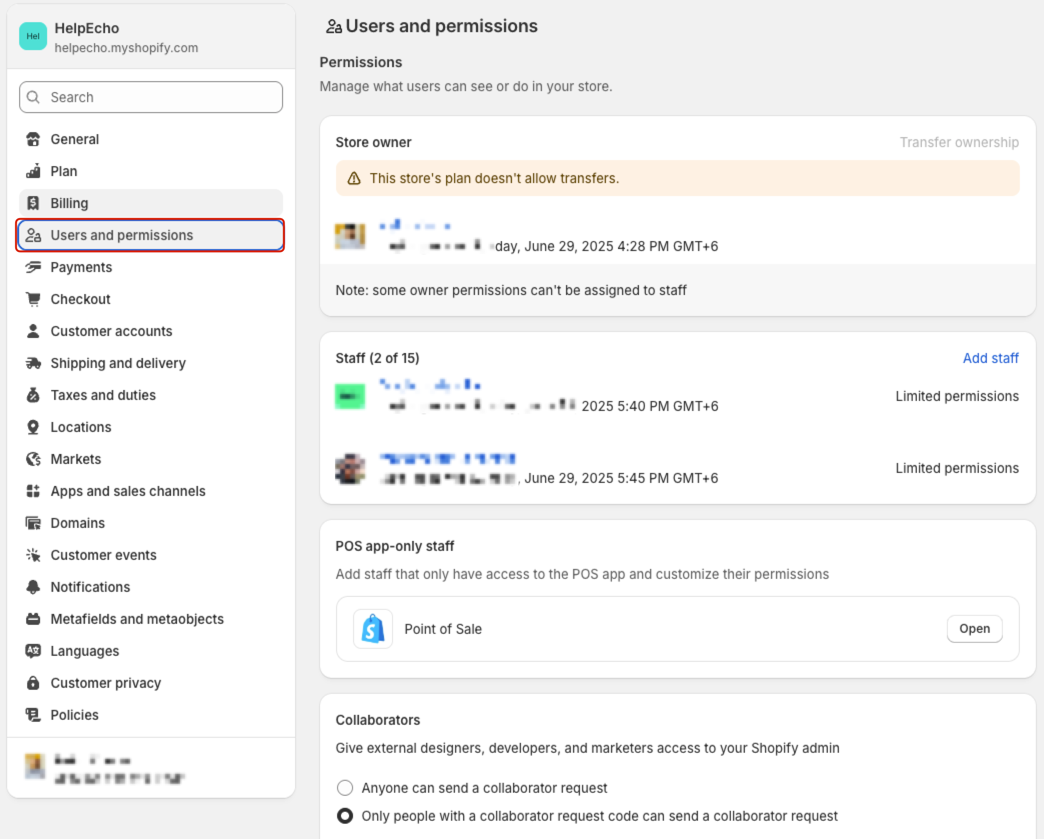
Step 2: Click “Add staff”
On the staff section, click the Add staff button.
Step 3: Fill in staff details
- Enter the first name, last name, and email of the new agent.
- Make sure the email is valid and accessible.
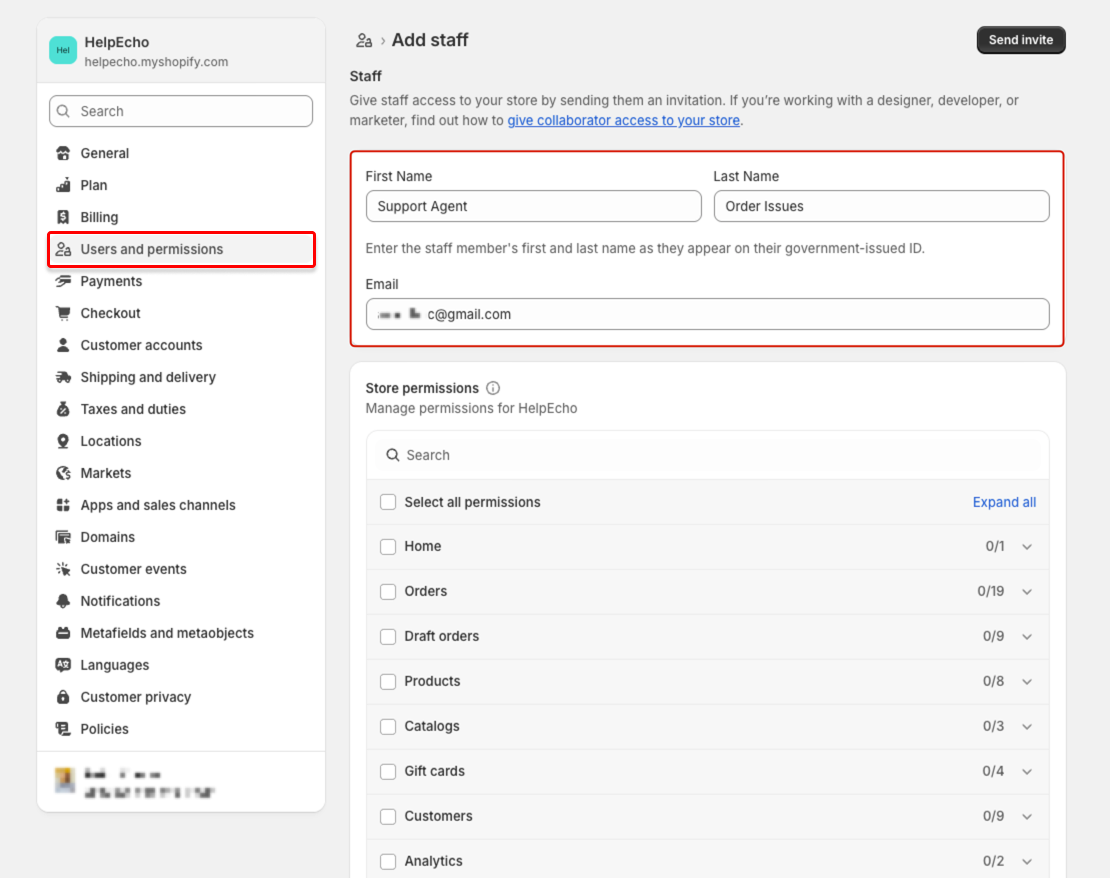
Step 4: Grant HelpEcho permissions
Under App permissions, check the box for HelpEcho so the new staff member can access the app.
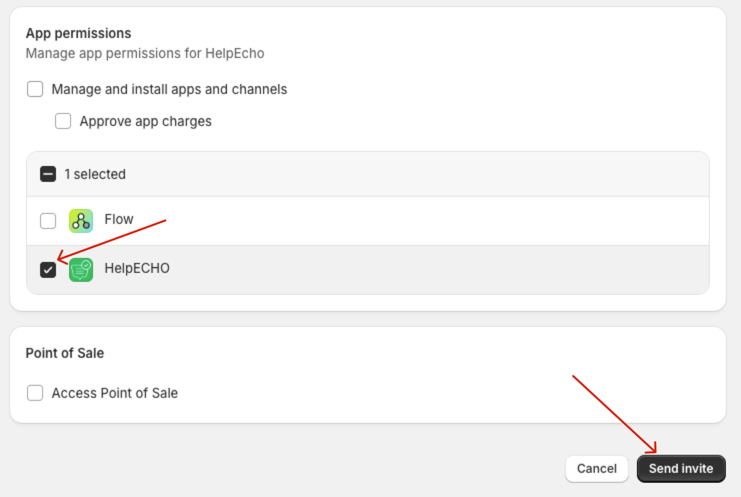
Step 5: Send Invite
Click Send invite to complete the process. The agent will receive an invitation email to join your store as a staff member.
Managing Agents in HelpEcho
Once the staff member accepts the Shopify invitation and gets added, they will automatically appear in the Agent Settings list in HelpEcho. You can then:
- Search for agents by name, email, or designation.
- Edit their details (except email).
- Delete agents who are no longer active.
⚠️ You cannot manually add agents inside the HelpEcho app. They must first be added as Shopify staff.