After successfully installing the HelpEcho app, you’ll be guided through a quick setup wizard. This helps you configure the basic settings to start using the app immediately. The setup process consists of three simple steps: Welcome, Add Category, and Finish.
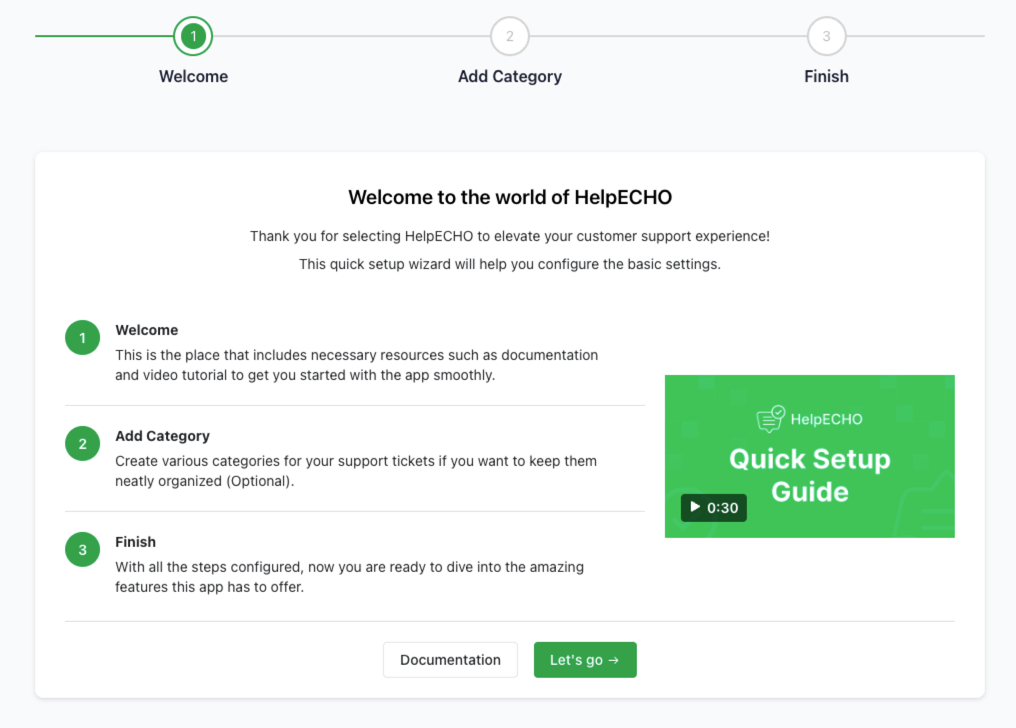
Step 1: Welcome
After launching the app, the first screen you’ll see is the Welcome screen of the setup wizard. This screen provides helpful resources like:
- A brief overview of the app
- A documentation link for in-depth help
- A short video tutorial introducing the HelpEcho interface and how it works
Click the Let’s go → button to begin the setup process.
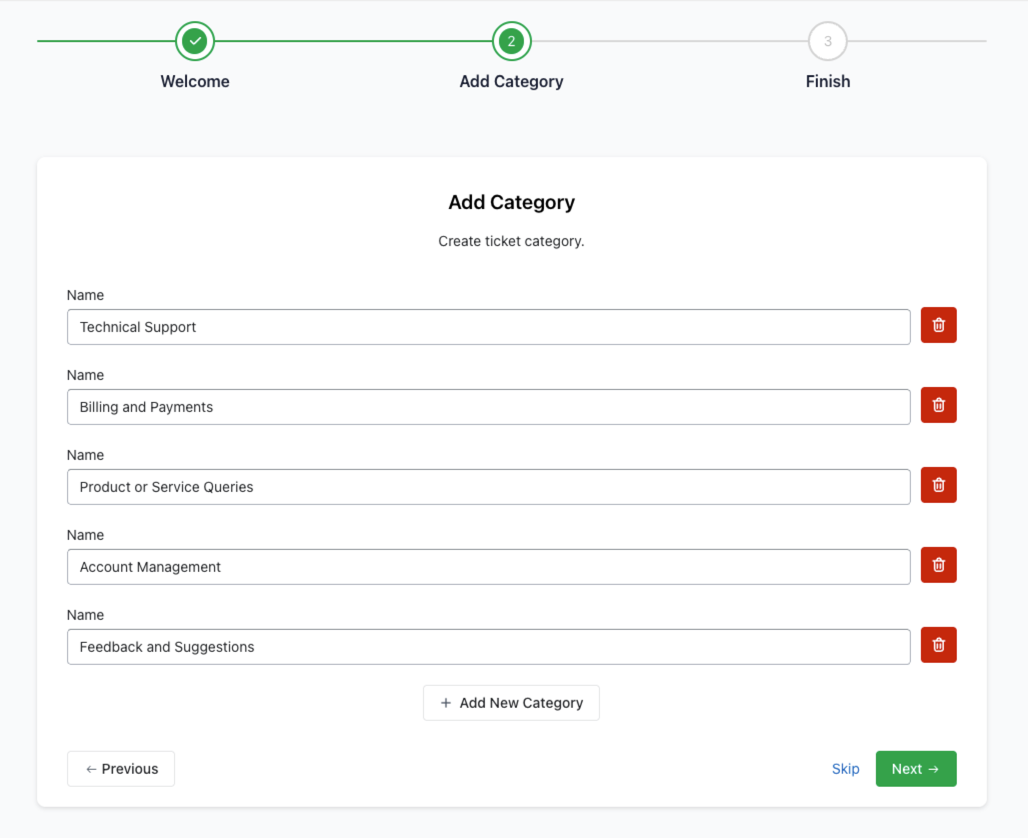
Step 2: Add Categories
In the second step, you’re prompted to add support ticket categories. This helps keep tickets organized and makes managing requests easier.
To add a category:
- Type the category name in the input field.
- Click Add New Category to create multiple entries.
- Example categories: Technical Support, Billing and Payments, Account Management
- Click Next → to continue.
You can skip this step if you want to create categories later from the dashboard.
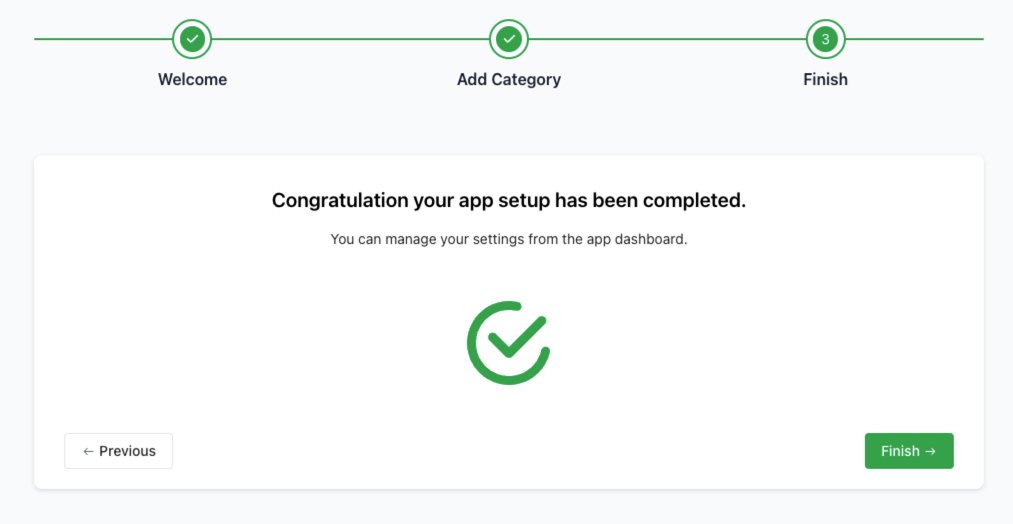
Step 3: Finish
Once categories are added or skipped, the final step confirms that your setup is complete.
You will see a confirmation message:
“Congratulation, your app setup has been completed.”
Click the Finish → button to access the HelpEcho dashboard and start managing your customer support.